4. Tin Can Lanterns with Punched Patterns
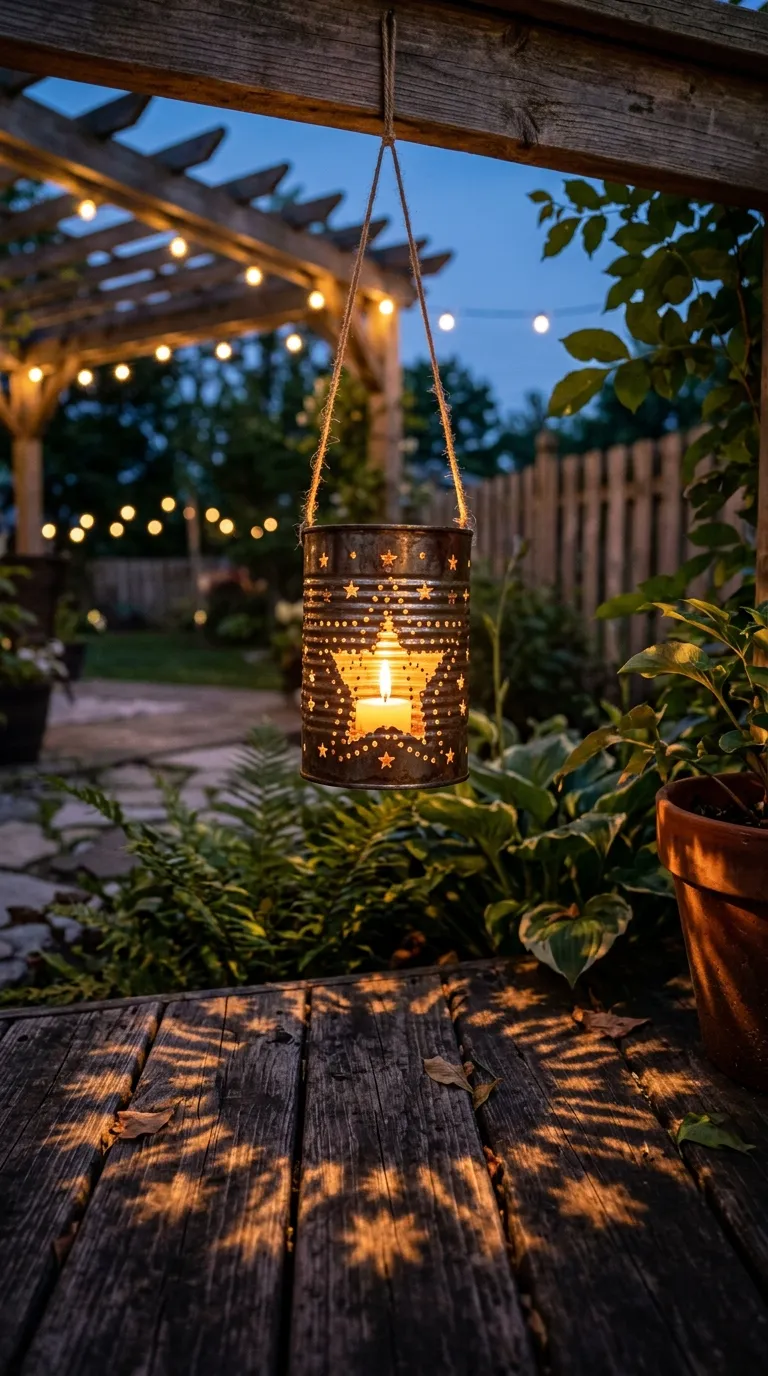
There’s a wonderful, almost folksy beauty to tin can lanterns. They cast intricate shadow patterns on the ground, they’re made from materials you’d otherwise recycle, and the punching process is honestly kind of meditative. Grab a hammer and nail and let your creativity flow.
Materials: Clean, empty tin cans (various sizes), hammer, nail or small awl, sandpaper, tea light or LED candle, optional outdoor spray paint.
How to make them: Fill each can with water and freeze it solid. This keeps the can from denting while you work. Use a nail to punch a design into the can. You can do simple dots, stars, hearts, or follow a paper template for more elaborate patterns. Once you’ve finished the design, let the ice melt, dry the can thoroughly, and lightly sand the edges smooth. Spray paint in your favorite color if desired, and drop in a tea light or battery-operated candle.
Time: 1 to 2 hours depending on design complexity
Difficulty: Beginner to intermediate
Customization: Make a set with a theme. Stars and moons for a celestial garden, leaves and vines for a woodland vibe, or initials for a personalized touch near a seating area.
Hang them from tree branches with wire, or set them directly on the ground along the path. The patterns they cast on nearby walls and foliage are genuinely enchanting.