Painting rocks is one of those hobbies that feels instantly rewarding. You only need a few smooth stones, some acrylic paint, and a free afternoon. There is no pressure to create a masterpiece, and mistakes can usually be painted over or turned into happy little details. That is why rock painting has become a favorite craft for families, teachers, gardeners, and anyone who wants a screen-free creative break.
These 10 DIY rock painting ideas for beginners are designed to help you start with confidence. Some take less than twenty minutes, while others give you a chance to practice blending, dotting, and fine brushwork. You can keep the finished rocks for yourself, tuck them into planters, hide them around your neighborhood, or give them as handmade gifts. The supplies are affordable, the learning curve is gentle, and the results look charming on a windowsill, bookshelf, or garden bed.
Before you begin, gather a few basics: smooth river rocks, acrylic paint or paint pens, a small set of brushes, a cup of water, paper towels, and a clear sealer. Wash and dry your rocks first so the paint grips better. Work in thin layers, let each layer dry, and do not worry if your first rock looks a little wobbly. The more you paint, the more relaxed the process becomes.
Quick answer: The best beginner rock painting ideas include ladybugs, kindness rocks with words, cactus rock gardens, beach scenes, galaxy rocks, fruit rocks, animal faces, mandala dots, seasonal holiday rocks, and fairy garden door rocks. Start with a smooth rock, acrylic paint, and a simple design. Seal your finished rock so it lasts outdoors. Most projects take 20–45 minutes plus drying time.
1. Classic Ladybug Rocks
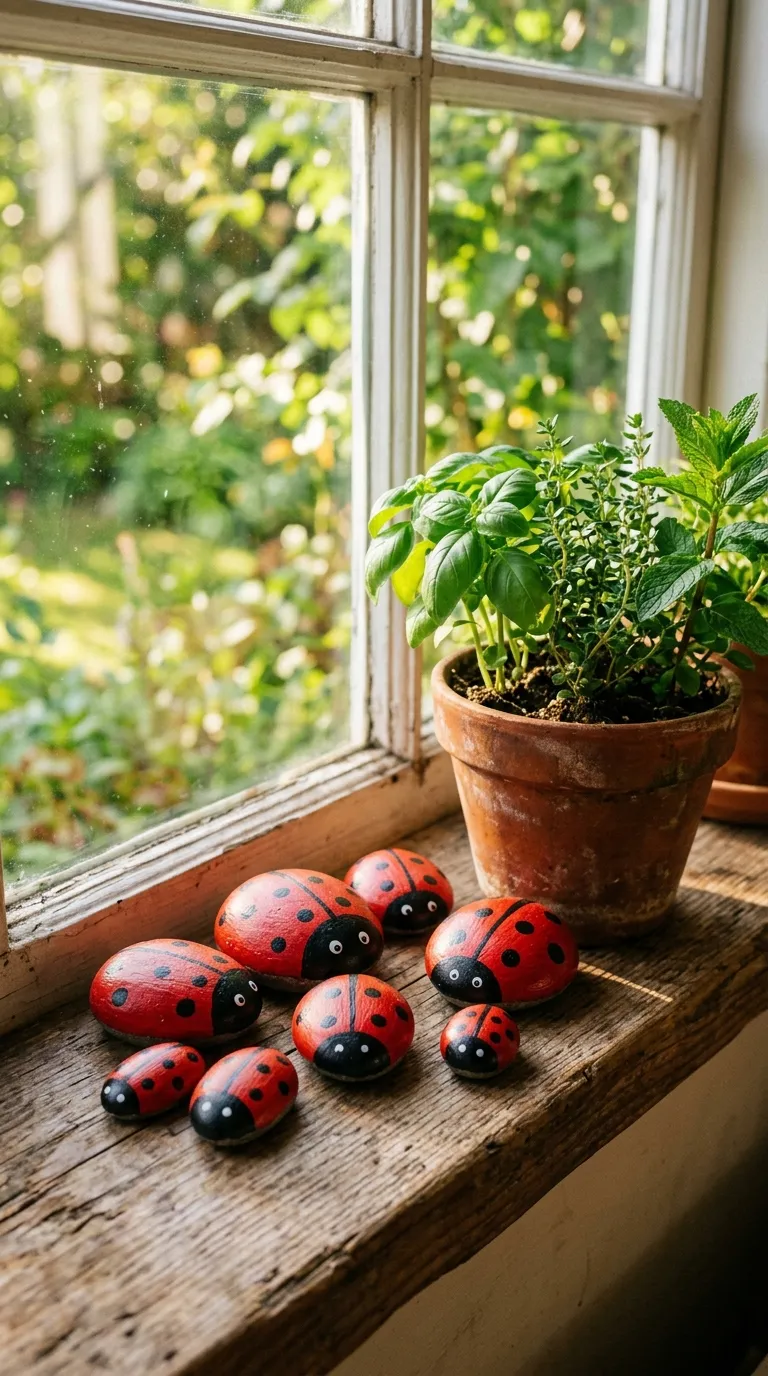
A ladybug rock is the perfect first project because the shape does most of the work for you. A rounded, smooth stone already looks like a little beetle, and the color palette is limited to red, black, and white. You can finish a handful in one sitting, which makes this idea great for kids’ craft tables or a quiet evening at home.
Materials: smooth round rocks, red acrylic paint, black acrylic paint, white acrylic paint, fine-tip brush, pencil, clear acrylic sealer.
Instructions:
- Wash and dry the rocks completely.
- Paint the top two-thirds of each rock red. Let it dry, then add a second coat if needed.
- Paint the bottom third black for the head. You can also paint a thin black line down the center of the red area.
- Use the handle of a small brush or a pencil eraser dipped in black paint to add spots.
- Add two tiny white dots for eyes once the black head is dry.
- Seal the rock after the paint has cured for at least an hour.
Time: 20–30 minutes plus drying. Difficulty: Very beginner-friendly. Customization: Try orange and black for a pumpkin ladybug, pink and black for a whimsical bug, or yellow and black for a bee-like variation. Display ideas: Nestle them in potted plants, line them along a garden path, or glue a small magnet to the back for the fridge. Budget alternative: Use dollar-store acrylic paint and a toothpick instead of a fine brush. Common mistake: Applying paint too thickly. Thin coats dry faster and look smoother.
💡 Pro Tip: Paint a small white highlight on each ladybug’s back before sealing. It gives the rock a glossy, rounded look without any extra effort.