A playroom has a funny way of becoming the most chaotic room in the house almost overnight. Between the blocks, the dolls, the board games, and the random socks that somehow always end up under the rug, storage becomes a real challenge, especially when you also need seating. That is exactly why a wooden toy box bench is one of the smartest furniture pieces a family can own. It pulls double duty as a cozy spot to read, build LEGO castles, or put on shoes, while quietly hiding away the mess in a built-in storage compartment.
The best part is that you do not have to settle for a plain, store-bought box. With a little wood, a few basic tools, and a free weekend, you can build a toy box bench that matches your home, your kid’s personality, and your budget. Some designs are rustic farmhouse charmers, others are bright and playful, and a few are clever space-savers for smaller rooms. Whether you are a seasoned woodworker or someone who has barely held a drill, there is a project here for you.
This roundup brings together ten DIY wooden toy box bench ideas for playrooms, each with its own style, skill level, and personality. Grab a cup of coffee, scroll through, and get ready to fall in love with your new favorite weekend project.
A wooden toy box bench is a piece of furniture that combines hidden storage with built-in seating, designed specifically for children’s play spaces. It keeps toys, books, and art supplies tucked out of sight, gives kids a comfortable place to sit, and adds a warm, custom look to any playroom. Most DIY versions use pine, plywood, or reclaimed wood, and can be finished with paint, stain, or a clear sealer depending on your style.
1. Classic Farmhouse Toy Box Bench
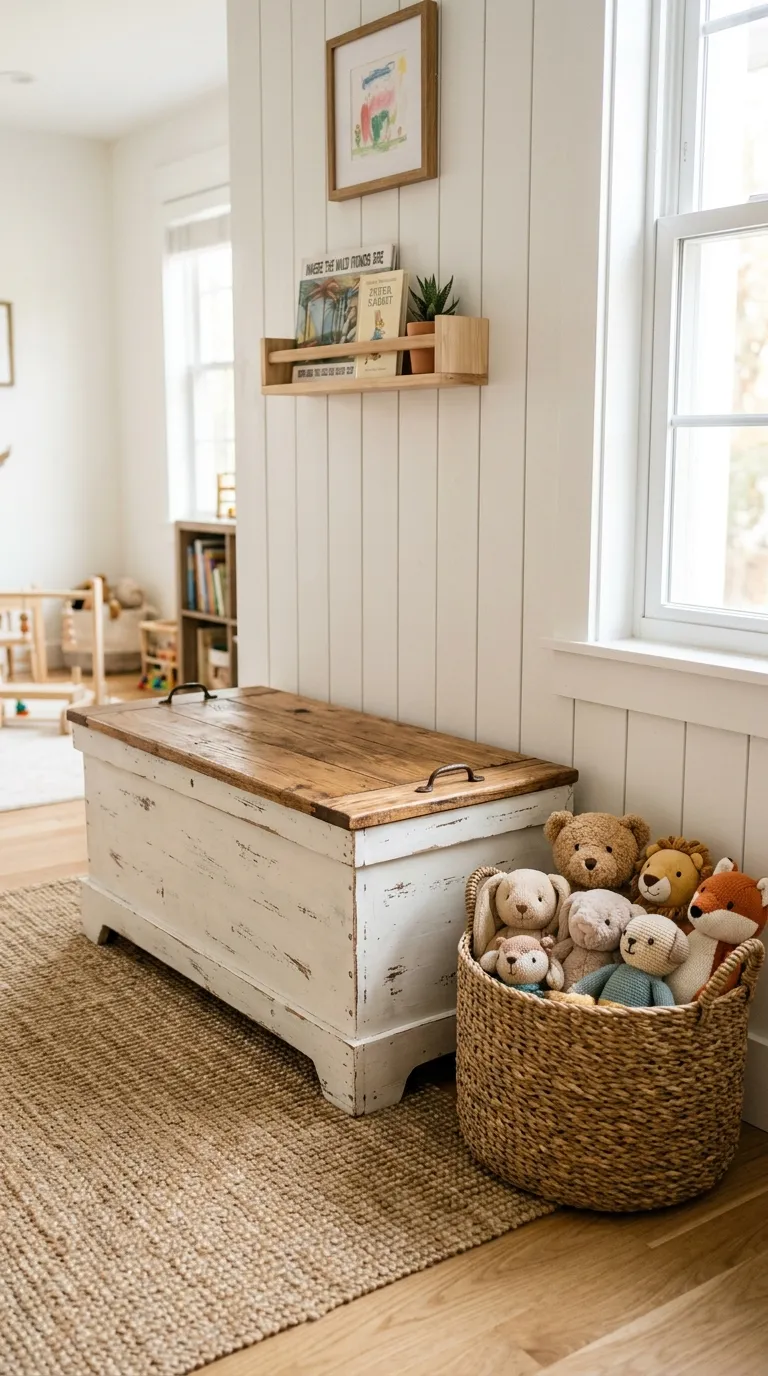
If you love that warm, lived-in farmhouse look, this is the project to start with. The classic farmhouse toy box bench combines clean lines with a slightly weathered finish, giving it that cozy “grandma’s farmhouse” feel without looking overly rustic. It works beautifully in a playroom that has neutral walls, woven baskets, and plenty of natural light.
For materials, you will need about three 1×12 pine boards for the body, one 1×12 for the lid, 2×2 boards for the corner supports, wood screws, wood glue, a hinge set, and your choice of stain or paint. A soft white or muted sage finish pairs especially well with the farmhouse aesthetic. Expect this build to take around four to six hours, which makes it a great one-day project for someone comfortable with basic cuts and assembly.
To build, cut your side, front, and back panels to the same height, usually around 18 inches. Assemble them into a box using the 2×2 corner posts for extra strength. Attach the lid with two soft-close hinges so little fingers do not get slammed. Sand everything down well, and finish with a low-VOC chalk-style paint or a matte stain. Add a small label or stencil on the front, and you have a piece that looks store-bought but cost a fraction of the price.
A great customization idea is to swap the standard lid for a barn-door style top that slides on a track. It adds visual interest and prevents the lid from being left open. Pair the bench with a soft jute rug underneath, and your playroom will instantly feel pulled together.
💡 Pro Tip: Use a handheld sander with 120-grit followed by 220-grit paper to get that ultra-smooth farmhouse finish. The smoother the surface, the better chalk paint will adhere and age over time.